Process guide
Water Mitigation Process: Step-by-Step Cleanup and Drying Guide
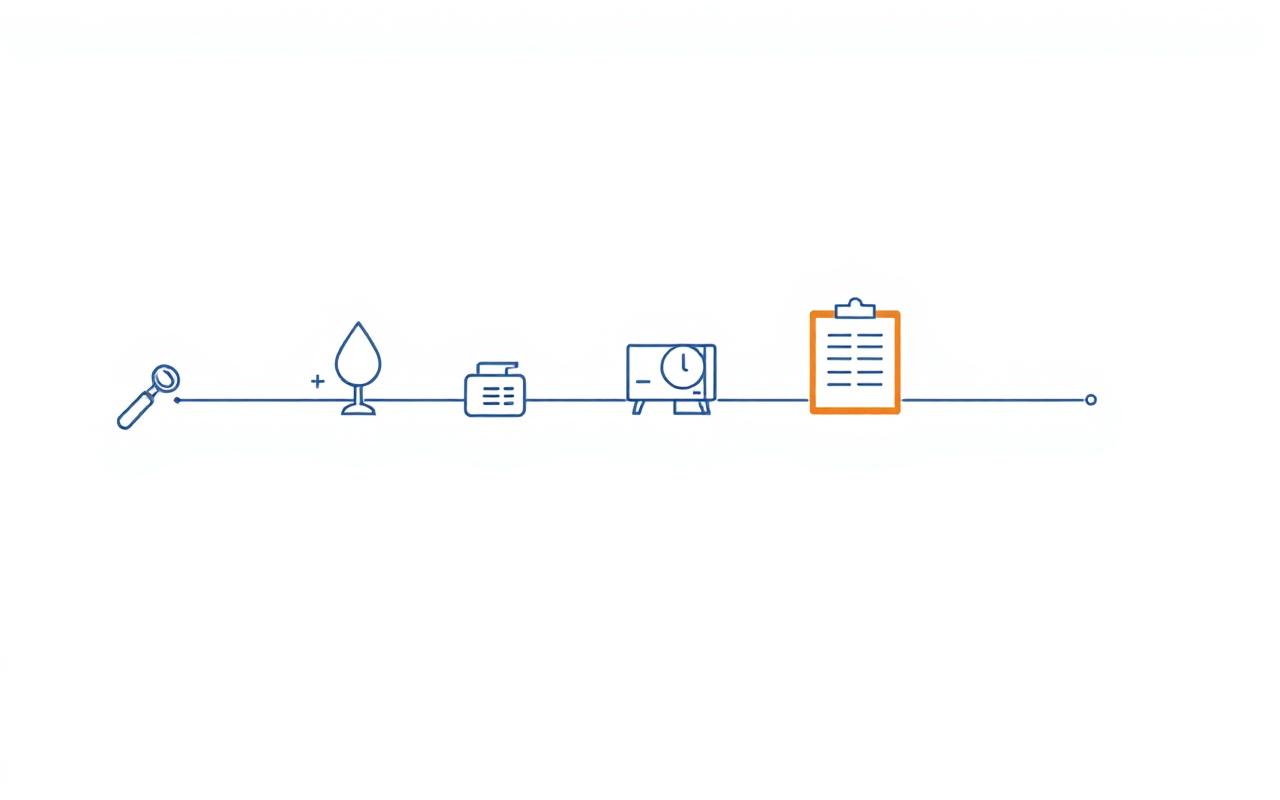
The water mitigation process is the sequence used to limit further damage after water enters a home. This guide walks through inspection, water extraction, moisture mapping, drying equipment, dehumidification, monitoring, documentation, and the restoration handoff that follows.
What this page is, and is not
What is the water mitigation process?
The water mitigation process is the sequence used to limit further damage after water enters a home. It usually includes inspection, stopping or isolating the source when safe, water extraction, moisture inspection, drying equipment setup, dehumidification, monitoring, documentation, and restoration handoff. Not every loss needs every step, and a written scope from a qualified local company should explain which steps apply to your home.
- 1Inspection and safety check
- 2Source control when safe
- 3Water extraction
- 4Moisture mapping
- 5Drying and dehumidification
- 6Monitoring and documentation
- 7Controlled demolition when needed
- 8Restoration handoff
Water Mitigation Process Timeline
The timeline below shows the typical order of stages on a residential water damage loss. Each stage suggests one clear question a homeowner can ask along the way.
| Stage | What happens | What homeowners should ask |
|---|---|---|
| First few minutes | Safety check, stay out of unsafe areas, stop the source if it can be done safely. | Is the area safe to enter right now? |
| First hour | Take photos and videos, list affected items, contact a qualified local company and your insurer. | What should I document before anyone arrives? |
| Same day inspection | On-site review of source, water category, affected rooms, and hidden moisture. | What category is this water and what rooms are affected? |
| Water extraction | Standing water removed using truck mounted or portable equipment. | How will extraction be measured and documented? |
| Drying equipment setup | Air movers and dehumidifiers placed by room size and material type. | How many air movers and dehumidifiers fit this loss? |
| Daily monitoring | Moisture readings and equipment checks recorded each day. | Will daily readings be shared with me in writing? |
| Final dry standard | Readings confirm the structure has reached a documented dry standard. | What target readings define dry for these materials? |
| Restoration handoff | Transition from mitigation to the rebuild scope. | Who handles the rebuild and how will the scopes stay separated? |
Water Mitigation Steps Explained
Each step below has a clear purpose. A written scope should explain how each one applies to your loss, what equipment will be used, and how progress will be documented.
Inspection and safety check
A qualified company identifies the source, water category, affected rooms, materials, hidden moisture, electrical risk, sewage risk, and structural concerns. Industry training such as IICRC Water Damage Restoration Technician covers this kind of assessment work.
Stop or isolate the water source when safe
If the source is a supply line, the main shutoff valve usually stops the flow. A plumber may be needed for a permanent fix. Roof leaks and appliance failures often need a temporary repair before drying can begin. Never enter an unsafe area to chase a shutoff.
Water extraction
Standing water is removed using portable or truck mounted equipment. Carpet may be extracted in place, basement water is usually removed before any drying setup, and extraction comes before drying because air movers cannot evaporate standing water efficiently.
Moisture mapping
Pin meters, pinless meters, and sometimes thermal imaging document moisture across walls, floors, and ceilings. Mapping finds hidden moisture and creates the baseline that drying progress is measured against.
Drying equipment setup
Air movers push airflow across wet materials and dehumidifiers pull moisture out of the air. Equipment count, placement, and expected drying days should be explained in the written scope. IICRC Applied Structural Drying training covers timely drying of water damaged structures and contents.
Dehumidification and structural drying
Controlling humidity matters because moisture that leaves wet materials can redeposit on cool surfaces or move into adjacent rooms. Dehumidifiers sized to the affected space keep the drying plan on schedule.
Monitoring and documentation
Daily visits record moisture readings, equipment status, and progress notes. Photos, logs, and a written scope make up the documentation package most insurers review. EPA mold and moisture guidance encourages fast drying and moisture control during this phase.
Controlled demolition when needed
Some materials cannot dry safely in place. Saturated drywall, wet insulation, carpet pad, damaged baseboards, cabinets with hidden moisture, and contaminated porous materials are common candidates. A good company explains the reasoning and takes photos before removal.
Restoration handoff
Mitigation ends when readings confirm the dry standard. The project then moves to restoration, which repairs and rebuilds materials such as drywall, flooring, paint, and trim. Mitigation and restoration scopes should be billed and documented separately.
If water is near electricity, sewage, a gas smell, or visible structural damage, stay out of the area and call emergency services or a qualified professional. See the emergency water mitigation guide for first steps.
What Can Change the Water Mitigation Process?
The same nine-step shape applies to most losses, but the details shift quickly with conditions. The factors below are the ones that move scope, equipment count, and timeline the most.
Water category
Clean, gray, or contaminated water changes safety steps, cleaning, and disposal.
Size of affected area
More square footage means more equipment, more monitoring, and more drying days.
How long water sat
Longer dwell time raises saturation depth and microbial risk.
Material type
Carpet, hardwood, drywall, plaster, and concrete each dry on different timelines.
Hidden moisture
Moisture inside walls or under flooring extends inspection and drying.
Sewage or contamination
Category 3 water requires containment, PPE, and specialized cleaning.
Mold-risk conditions
Visible growth or extended wet time can add containment or a remediation referral.
Insurance claim requirements
Claim documentation adds photos, logs, and a written scope to the process.
Storm event demand
Local demand can change response time and equipment availability.
Access issues
Tight stairwells, locked rooms, or stored contents slow inspection and setup.
How Long Does Water Mitigation Take?
Drying times vary, and no honest answer fits every home. Small clean-water losses may be simpler, while larger or contaminated losses can take longer. Affected area, materials, drying days, monitoring schedule, equipment count, and the handoff to restoration all affect the total timeline.
| Situation | Process may be simpler or longer | Why |
|---|---|---|
| Small clean-water leak | Simpler | Limited area, fewer materials, faster drying. |
| Finished basement water damage | Longer | More square footage, more materials, more equipment days. |
| Hardwood floor water damage | Longer | Sensitive material that often needs specialty drying or replacement. |
| Water inside walls | Longer | Hidden moisture and access work add inspection and demolition time. |
| Sewage backup | Longer | Containment, PPE, antimicrobials, and disposal add scope. |
| Multiple rooms affected | Longer | More equipment, more monitoring, longer overall timeline. |
EPA mold and moisture guidance notes that mold can grow on wet materials in roughly 24 to 48 hours, which is one reason fast response and clear drying decisions matter.
Water Mitigation Process vs Restoration Process
Mitigation stops damage and dries the property. Restoration repairs or rebuilds materials after drying is complete. Some companies handle both phases, while others stop at the dry standard and hand off to a restoration company or general contractor.
| Phase | Main goal | Typical tasks |
|---|---|---|
| Mitigation | Stop further damage and dry the structure. | Extraction, drying, dehumidification, documentation. |
| Restoration | Repair and rebuild materials after drying. | Drywall, flooring, paint, trim, cabinetry. |
| Mold remediation if needed | Contain and remove mold growth. | Containment barriers, HEPA cleaning, material removal. |
| Plumbing or roof repair if needed | Fix the original water source. | Pipe repair, valve replacement, roof patching. |
For a deeper look at scope, see water mitigation services. For a phase-by-phase comparison, see water mitigation vs restoration.
What Documentation Should Be Created During the Process?
Documentation is what a claim review, a rebuild scope, and a future buyer or appraiser may all rely on. A good company creates this paperwork as the work happens, not at the end.
- Initial photos and videos of every affected room
- List of affected rooms and approximate square footage
- Water category and the reasoning behind it
- Daily moisture readings on affected materials
- Equipment count for air movers and dehumidifiers
- Drying logs with dates and notes
- Demolition photos before and after material removal
- A written scope of work in plain language
- Change orders signed before extra work begins
- Final dry standard readings
- Receipts and invoices for the mitigation phase
For the homeowner side of the claim, see the insurance checklist. National Association of Insurance Commissioners guidance encourages homeowners to document damaged property, take photos and videos, and contact their insurer with policy information.
What Homeowners Should Do During the Process
Homeowners are not bystanders during mitigation. A short list of habits keeps the project predictable and the paperwork organized.
- Keep your own photos and videos from the start
- Save receipts for emergency repairs or supplies
- Ask for daily updates on drying progress
- Keep notes from calls with the company and the insurer
- Ask what will be removed before any demolition starts
- Ask for moisture logs to be shared in writing
- Confirm what is excluded from the mitigation scope
- Ask who communicates with insurance and how often
- Do not enter unsafe areas, even briefly
- Review every document before signing

Sources used for general guidance
These references are used for general education about water damage cleanup, drying, moisture control, mold prevention, safe cleanup, and claim preparation. They are not contractor recommendations or guarantees of coverage.
Frequently Asked Questions
Water mitigation process questions
- The water mitigation process is the sequence used to limit further damage after water enters a home. It usually includes inspection, stopping or isolating the source when safe, water extraction, moisture inspection, drying equipment setup, dehumidification, daily monitoring, documentation, and restoration handoff.